|
Documents Setting up a Document List
The Documents feature allows you to upload, group and name documents of any type which can be readily inserted on various pages within your website. |
|
|
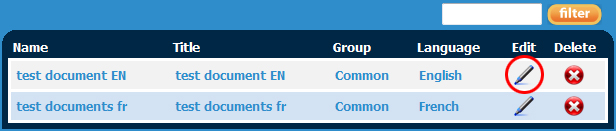
NOTE : Documents uses both a title and name to allow you to name these two fields differently if you please. This might be relevant when adding a list of downloadable resource documents to different pages. Ie. You might have a list called ‘2009-2010’ that you place on a ‘Articles’ page and a separate list of documents called ‘2009-2010’ that you will place on a page called ‘Downloads’. Without a name unique from the title it would be difficult to differentiate these lists. Separating 'Name' and 'Title' will allow you to name them ‘Articles 2009-2010’ and ‘Downloads 2009-2010’ to easily differentiate the two, without having to have them titled as such on the page for the viewer.
|