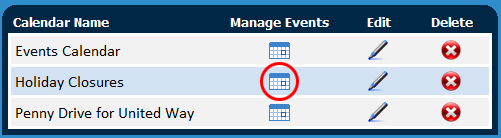
| 1. | On the main Calendar page click on the Manage Events icon : |
| 2. | On the following screen, click 'add' |
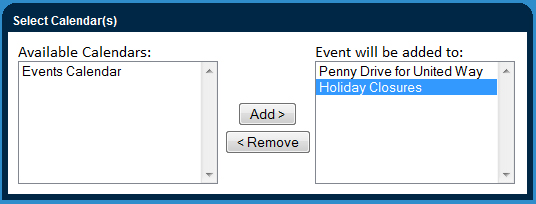
| 3. | Select which calendars you would like your event to appear on, then click next : |
| 4. | Fill out all relevant event details. It is required that you provide an event name and type, the type of event will corresponds to a colour coded legend on the calendar. When you have finished, click next. |
| 5. | On this next screen you will set the date and time of the event. You can make your event a multi-day event or recurring by clicking the appropriate checkbox or radio button respectively. When you are finished, click next. |

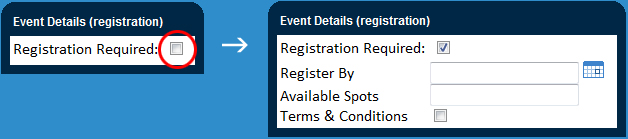
| 6. | Check off the "Registration Required" check box to enable registration. This will allow you to define how many spots are available, set a 'register by' date, and add terms and conditions. When you have finished, click next. |
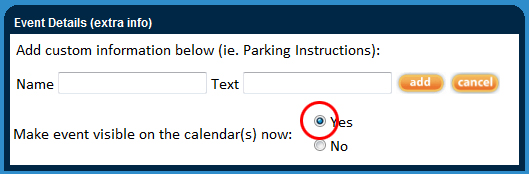
| 7. | This final step allows you to add custom field and text to your event details page listed on the calendar. This can be used to provide any further information on the event not included in the previous steps. To make the event show up on the calendar make sure 'yes' is selected. *NOTE : setting this to 'No' will save your event and can be made active at any time by editing the event details. |
|
